Accepting Submissions
You can accept submissions to your Write.as blog with our add-on service, Submit.as. This gives submitters an easy, focused writing experience and reviewers a painless approval system.
Getting Started
Submit.as is a paid add-on to Write.as. You can activate it by going to the Extend Write.as Store.
Once activated, go to your blog home page and scroll down to add-ons. You should see an option for Submit.as.

Click that and you are on your way to creating a prompt!
Creating a Prompt
Prompts are at the core of Submit.as. Through prompts, people will be able to send in submissions. From short story contests to open ended feedback for a software project, you can have prompts for any written content.
So let's start with creating a prompt. First go to your prompts page. You should have been redirected to this page when you clicked the Submit.as add-ons button.

To create a new prompt, scroll to the bottom and click New Prompt. From there you will be taken to the editor. A prompt requires two things – a title and a body.

Once you are finished writing, you have to decide what blog to add the prompt to. A list of your blogs can be accessed on a dropdown in the top right hand corner of the editor.

With a blog selected and the prompt ready, click Publish. Congrats, you just created a prompt!
Sharing a Prompt
Now that your prompt is published, it should be shared. After publishing the prompt you are redirected to the bare post for your prompt.

From this link you can edit the prompt to make adjustments as you see fit. There is also the option to view and copy the prompt link that will be shared with submitters. Depending on your audience, the link can be shared in a variety of places. If you already have a group of people who tune in to updates from your organization, you can add the link in an email sent out to your mailing list. If your potential submitters are primarily on social media, share the link in a post on the appropriate channels. If you will have an ongoing submission process that needs a permanent home, put the link on a page of your website.
When you access the Submit.as link, your prompt will look like this.

The prompt now has one key addition – a call to action to start writing a submission. All people need to do is put in their name and email and click Start Writing. From there they are taken to a distraction-free editor, all without having to make an account.
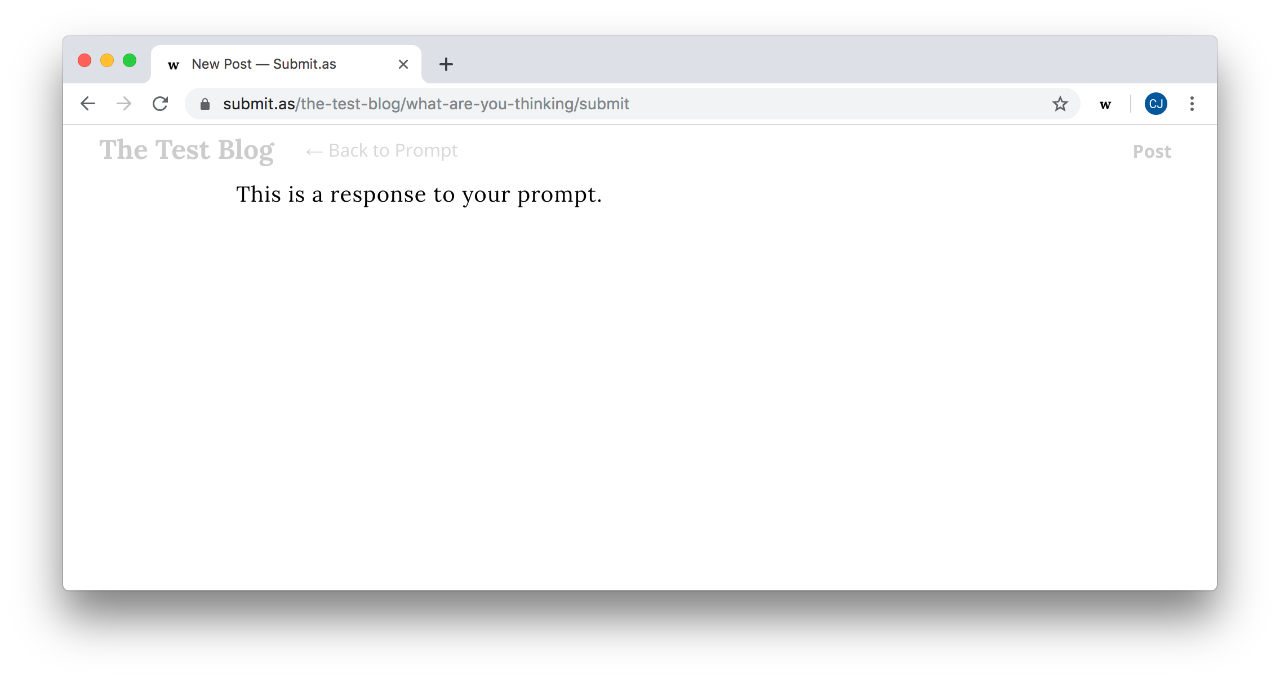
Once they click Post, they will be redirected to the prompt with a confirmation that their submission has been sent in for review.

Receiving Submissions
All of your submissions, both new and reviewed, will be on your submissions page.

When you receive a new submission, you will be notified via the email address that you use for your Write.as account. An email from “Submit.as” will appear with “New Submission” as the subject line. It will contain the name and email of the submitter along with a link for the submission.
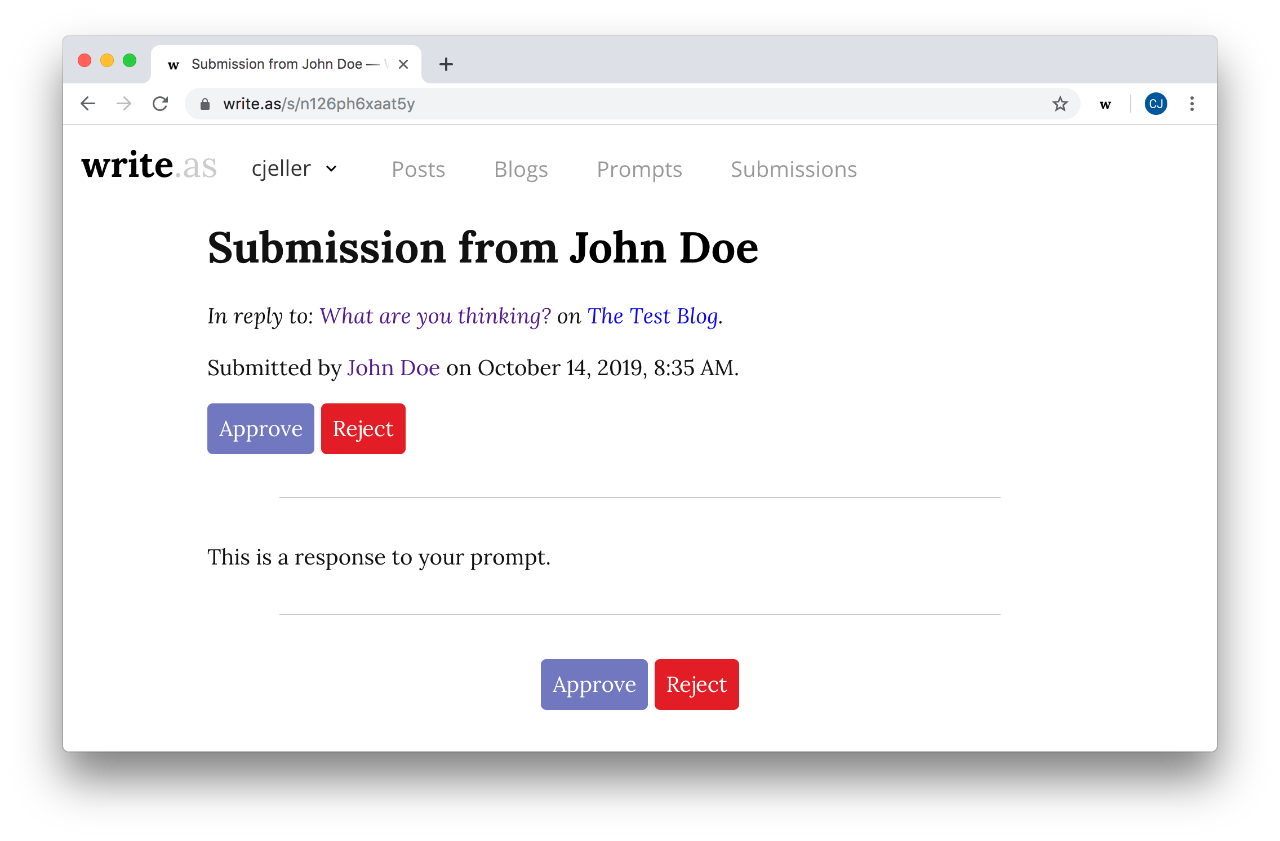
Click the link and you will be taken to the review page. A submission will contain the content along with information about what prompt it is responding to and who submitted it.
Reviewing a Submission
Once read, you have the ability to Approve or Reject a submission. Approve means that the submission will be published to the blog the prompt was connected to. Reject means that the submission will not be published and will be marked as “Rejected” in your submission list.
Approve
Let's walk through the approval workflow first. When you click Approve, your browser will ask if you want to approve the submission and have it published to your blog. This creates some friction in the process just in case you want to review the post again.

Once you click “Ok”, the submission is published to your blog. It includes the posts' content, beginning with the submitter's name.

Since the submission now exists as a post on your blog, you can edit it like any other blog post. Make changes or additions as you see fit.
When you go back to that submission, a new detail will appear showing when the submission was approved:

Now you can click on the submitter's name to email them and let them know that their submission was approved!
Reject
The rejection workflow is similar. When you click Reject, the browser will ask you if you want to reject the submission. Instead of being published to the blog, the submission will remain in the submission list. Whenever you go back to that submission, a new detail will appear showing when the submission was rejected.

If you want to, you can click on the submitter's name to email them and let them know that their submission was rejected.
Get started for $25 a month.
Get Submit.as